1 min to read
Enable TypeScript in a SharePoint Hosted App
In this post, I’ll give step-by-step instructions of including TypeScript in Visual Studio. This will be a pre-req for my next post of using NPM in a SharePoint Hosted App (Add-In).
Enable TypeScript in Visual Studio
This section will go over the setup and configuration of the Visual Studio project.
Download and Install TypeScript for VS 2015
If you haven’t already installed “TypeScript for Visual Studio”, you will be required to. As 2015 is the latest at the moment, here is the link for the installation file. Install it taking the default settings.
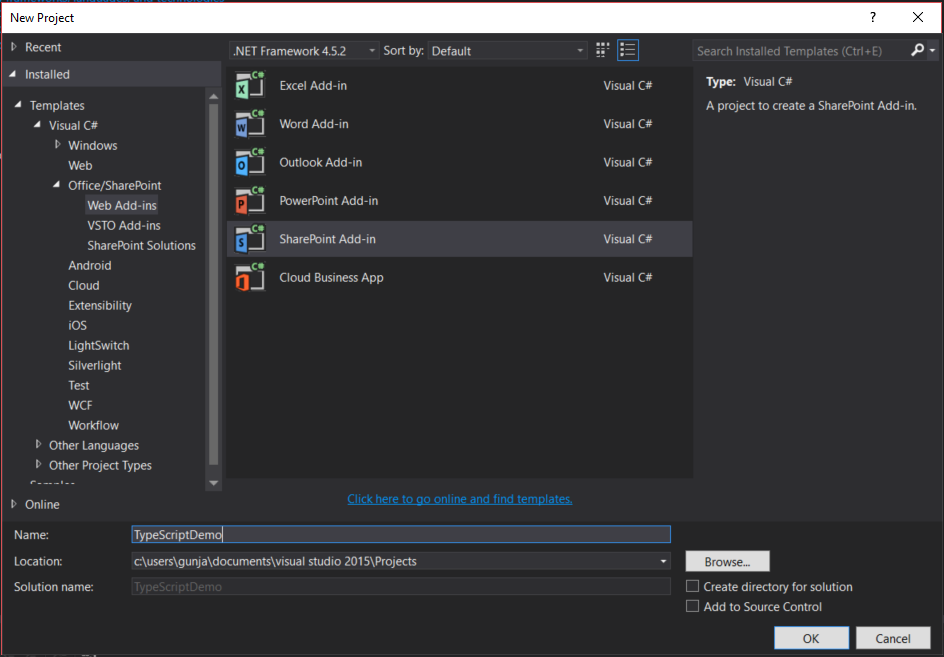
Create a SharePoint Hosted App (Add-In)
Clicking on “Next”, select the Add-In type and set the url to the SharePoint site to deploy to. For this demo, I’ve selected to create a “SharePoint Hosted” Add-In.
Update the VS Project File
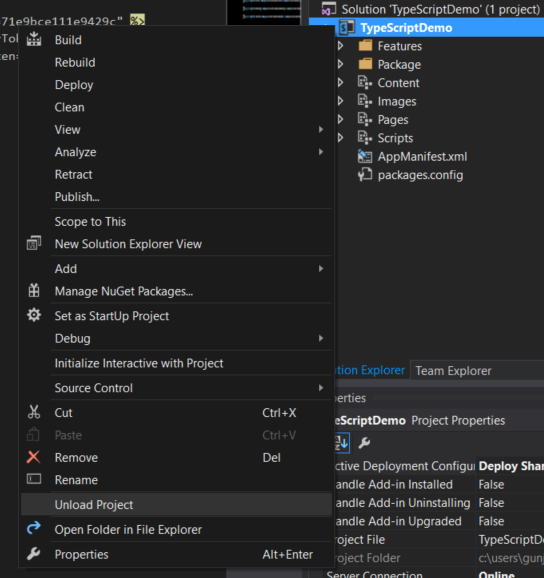
Unload the Project
Right-click on the project and select the option to unload it.
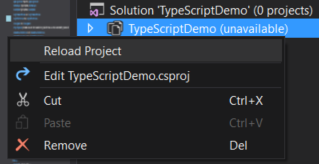
Edit the Project File
Right-click on the project and select the option to edit the [Project Name].csproj file.
Add the TypeScript Reference
Scroll to the bottom of the file, and add the following to the project file:
  <PropertyGroup>
    <TypeScriptSourceMap>true</TypeScriptSourceMap>
  </PropertyGroup>
  <Import Project="$(MSBuildExtensionsPath32)\Microsoft\VisualStudio\v$(VisualStudioVersion)\TypeScript\Microsoft.TypeScript.targets" />
Reload the Project
Right-click on the project and select the option to reload it. Check out the next post for steps on using NPM in the Visual Studio project.


Comments