4 min to read
Solutions WebPart
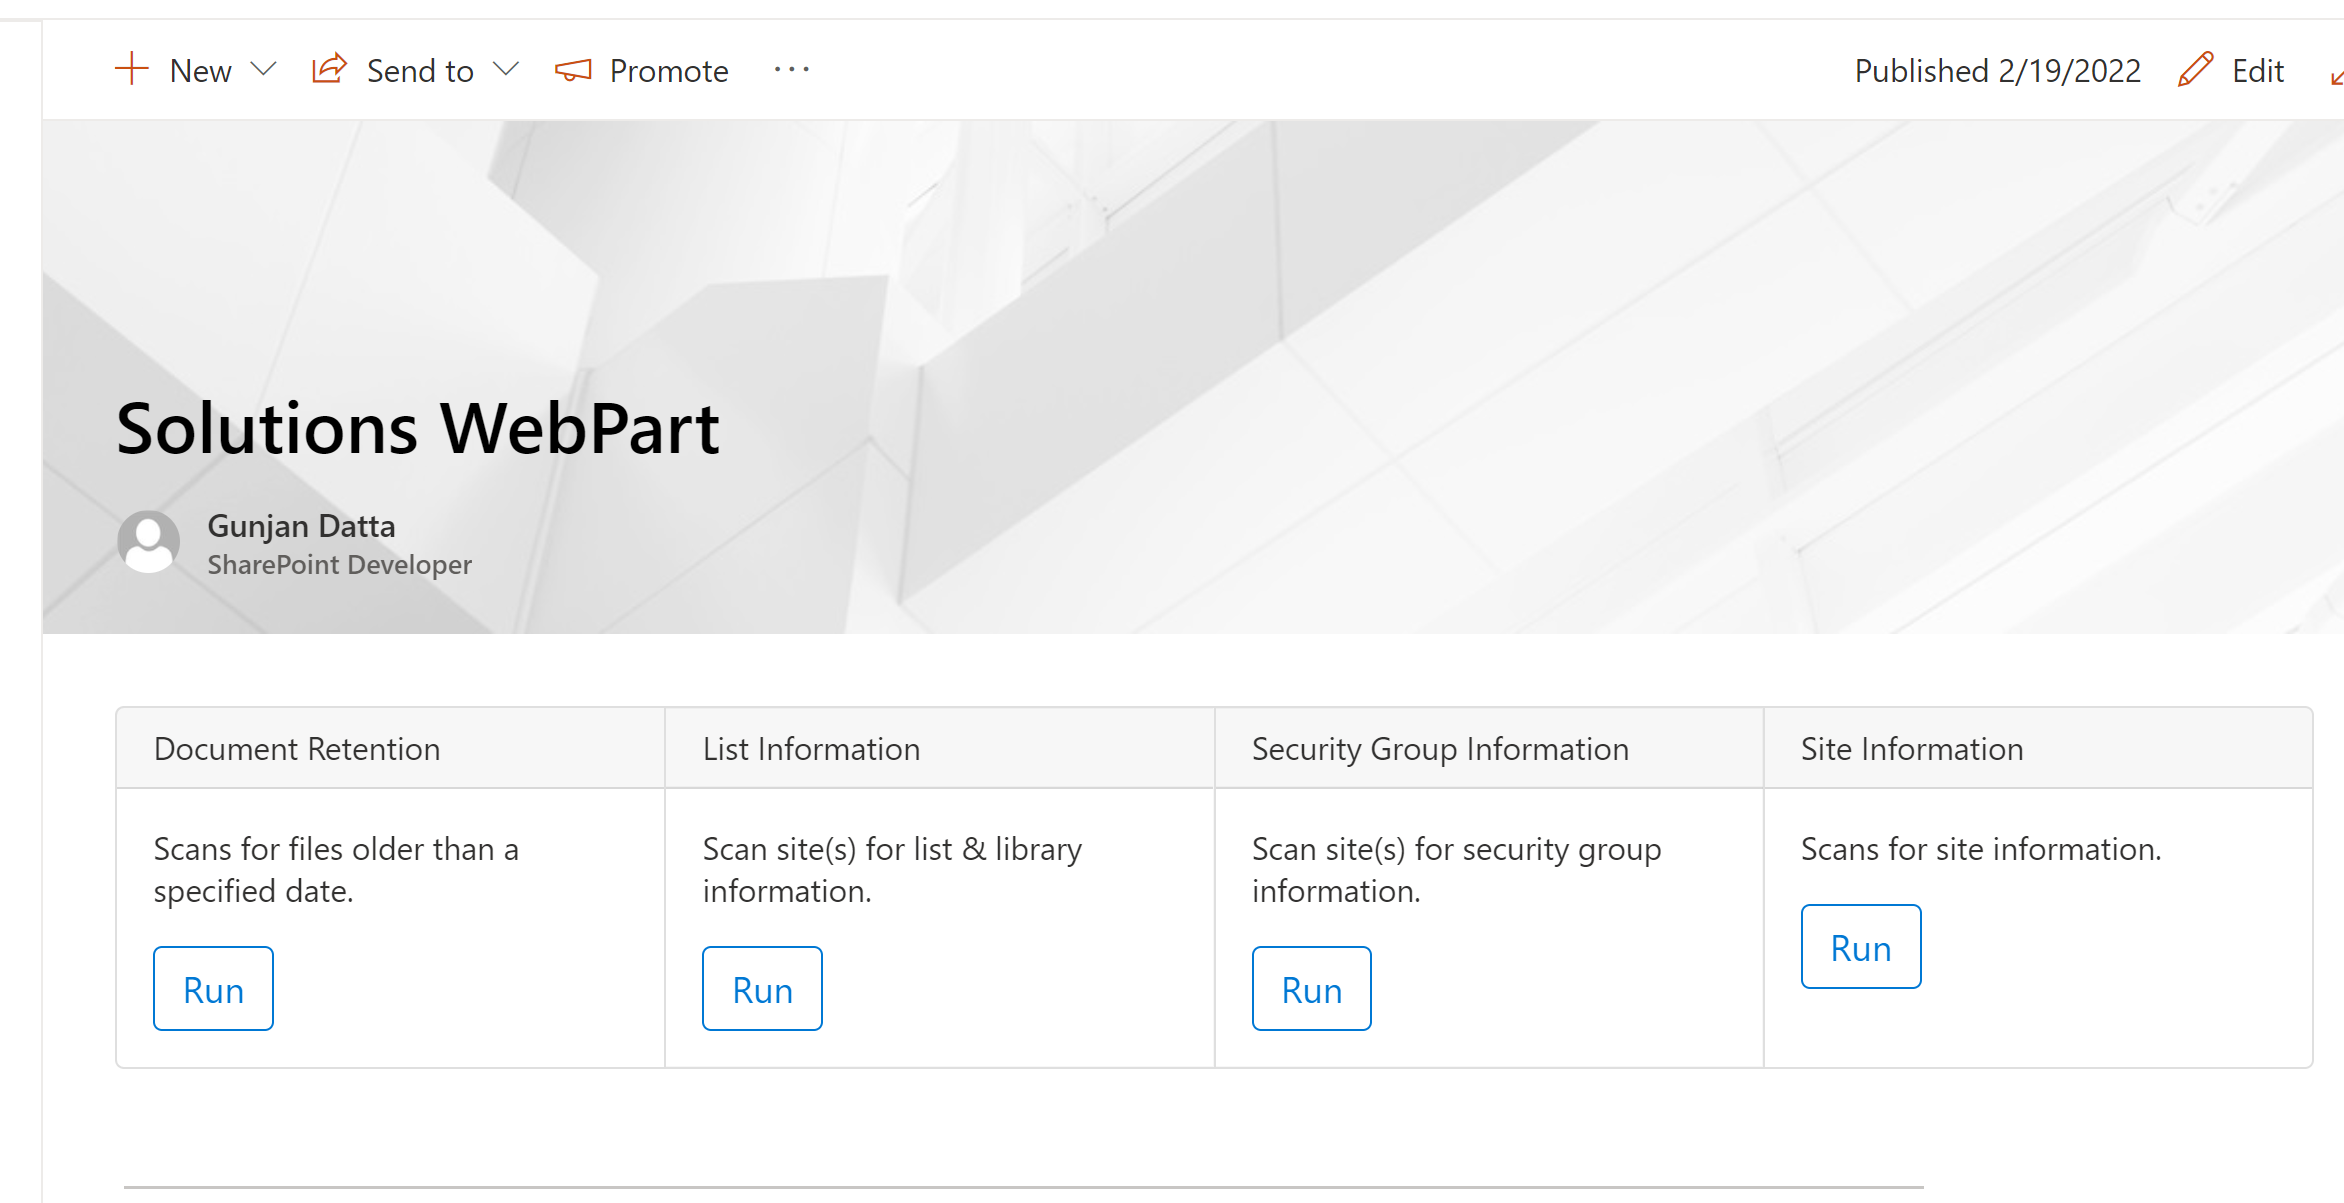
This modern webpart will load a solution from a configuration file. This will allow for classic solutions to be easily managed and approved by the tenant or site collection administrator, based on the scope of the deployment. Users will require a minimum of read access to the solution assets and webpart configuration file. Solutions can be added/upgraded dynamically by updating the configuration file and associated solution assets.
All solutions will follow the initialization used by our solutions where a global DOM variable is made available containing a render method. The render method will be passed the webpart’s DOM element and page context for interaction with the REST API. There are advanced cases where this can come in handy. Common externaly frameworks and libraries can be included in the main webpart and excluded by the solution libraries. Common themes can be applied through webpart properties. This can allow for better control for various configurations required by many solutions.
Custom Scripts
This modern webpart will load the associated script files in the configuration file in site collections that have the “Custom Scripts” disabled.
Original Developer Gunjan Datta
Solution Code
The solution is designed to be used as is or further customized. Click here to access the code repository. To create your own the instance of the solution, follow the steps below.
- Fork the solution and clone it to your machine
- Install the libraries:
npm i - Build the Solution:
npm run package
Installation and Deployment
Upload Package
- Go to app catalog
- Click the upload button
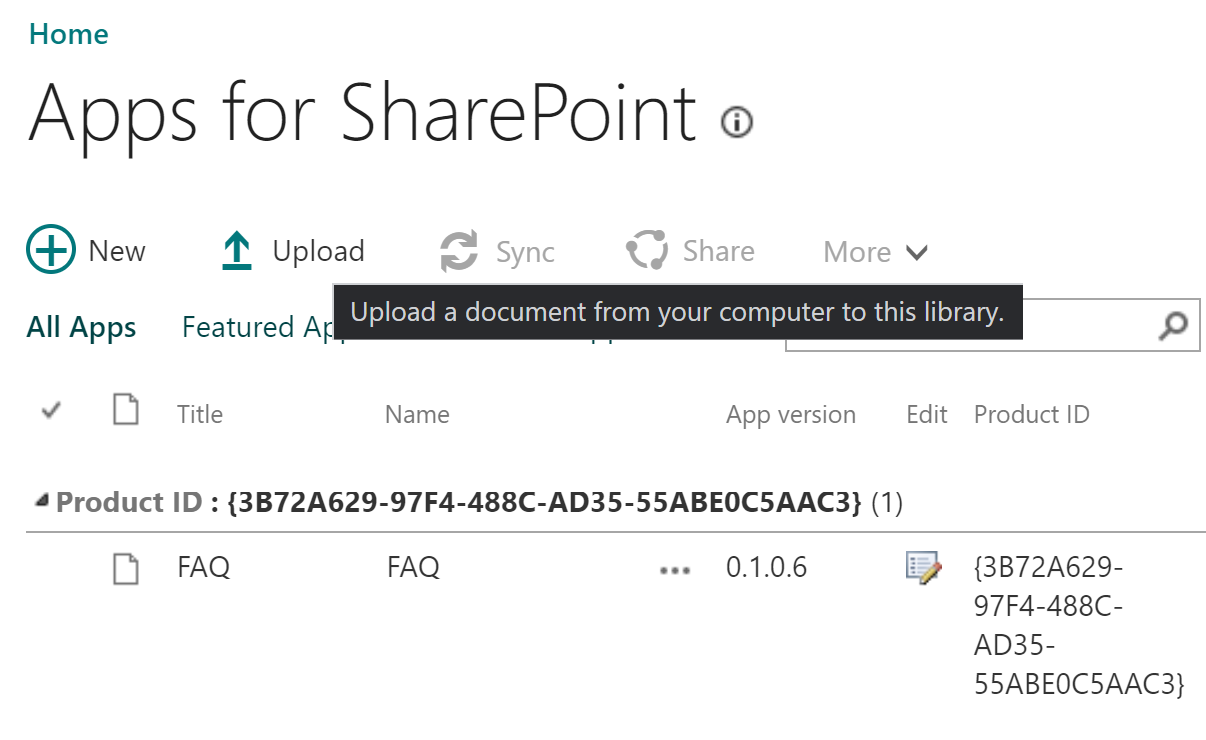
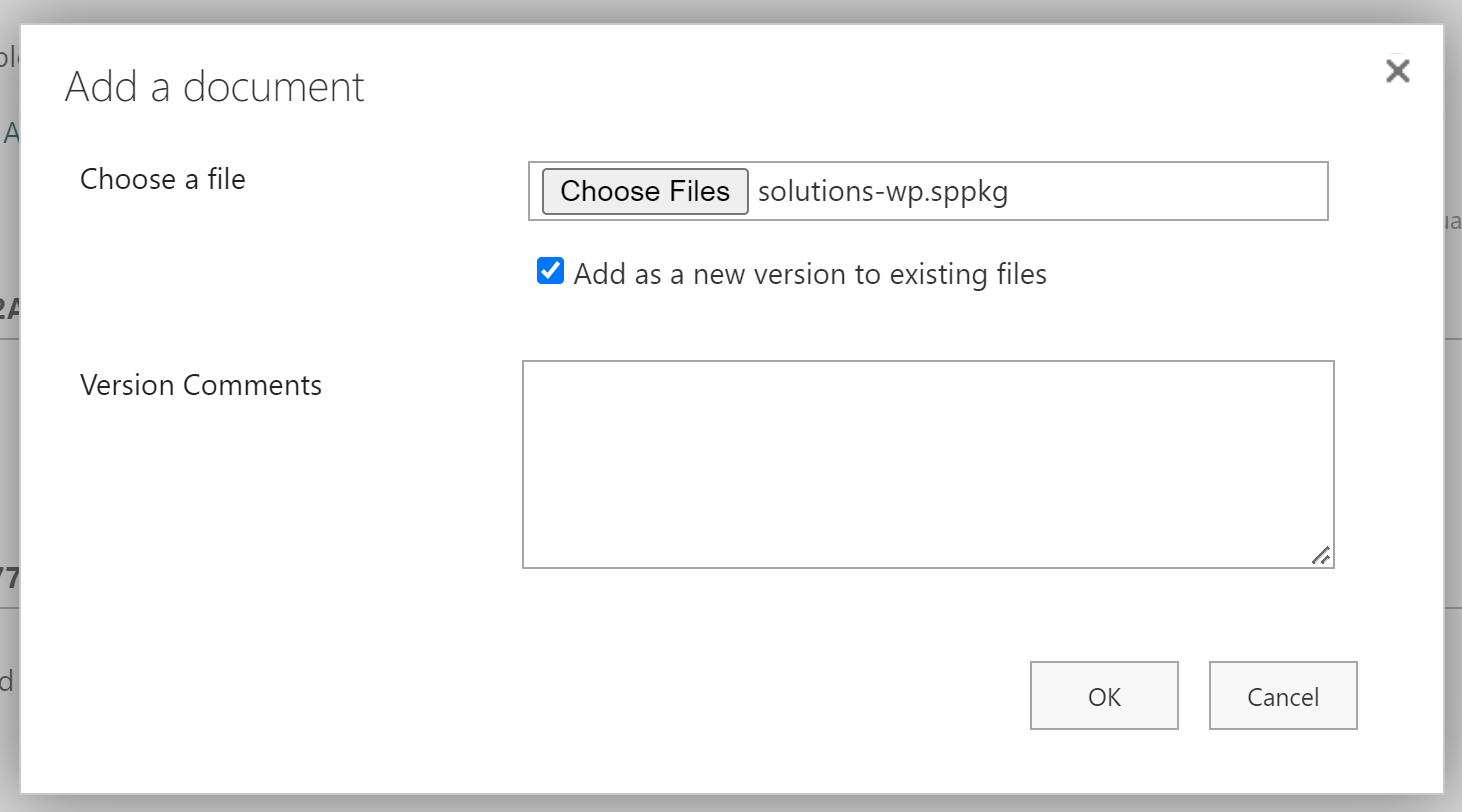
- Upload the package file
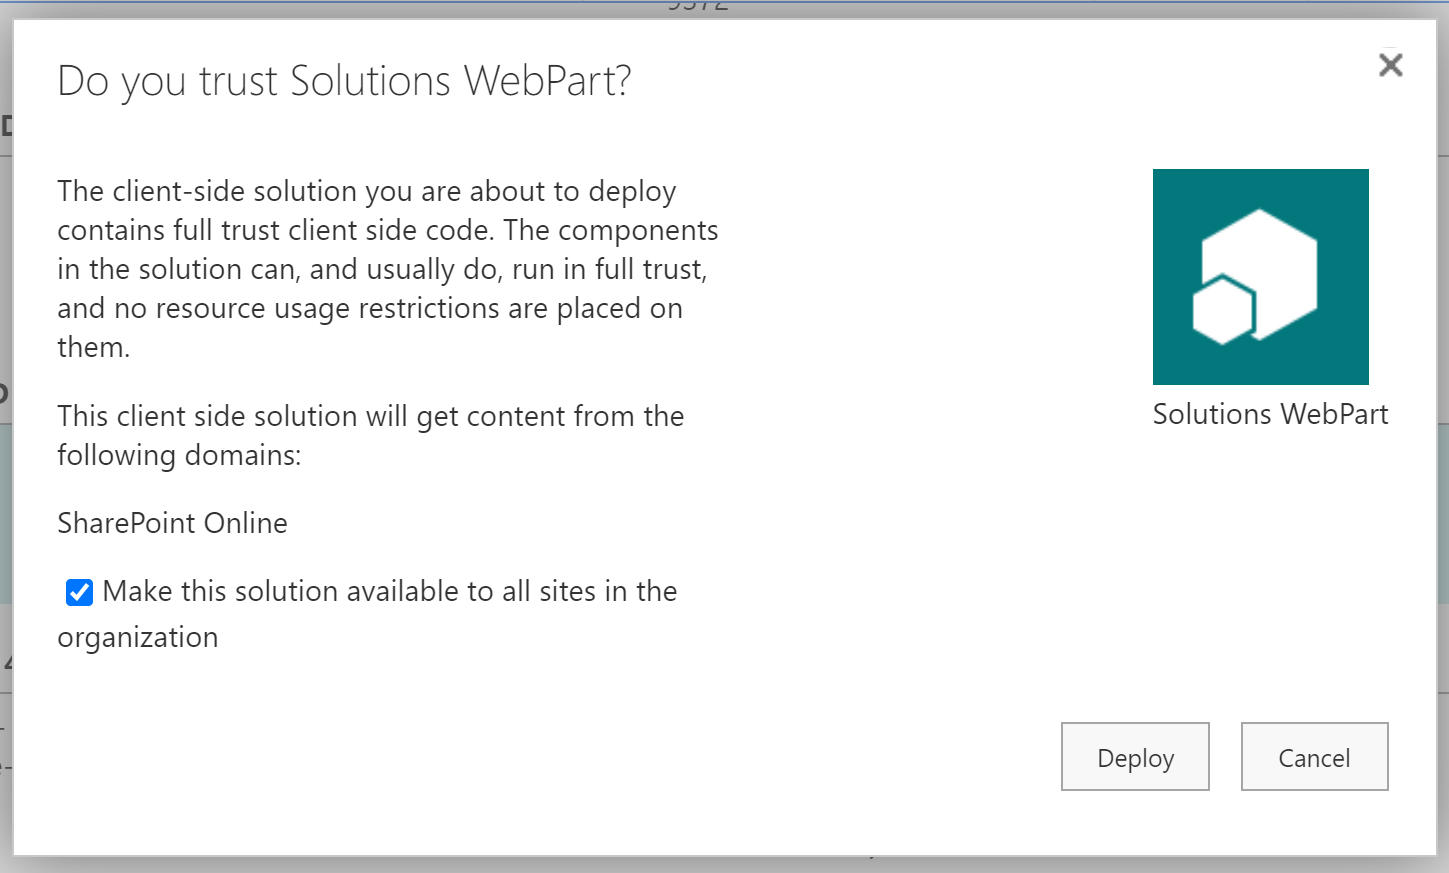
- Select the
Make this solution available...checkbox if you want to deploy the solution to teams - Click the deploy button
Optional
- Select the file
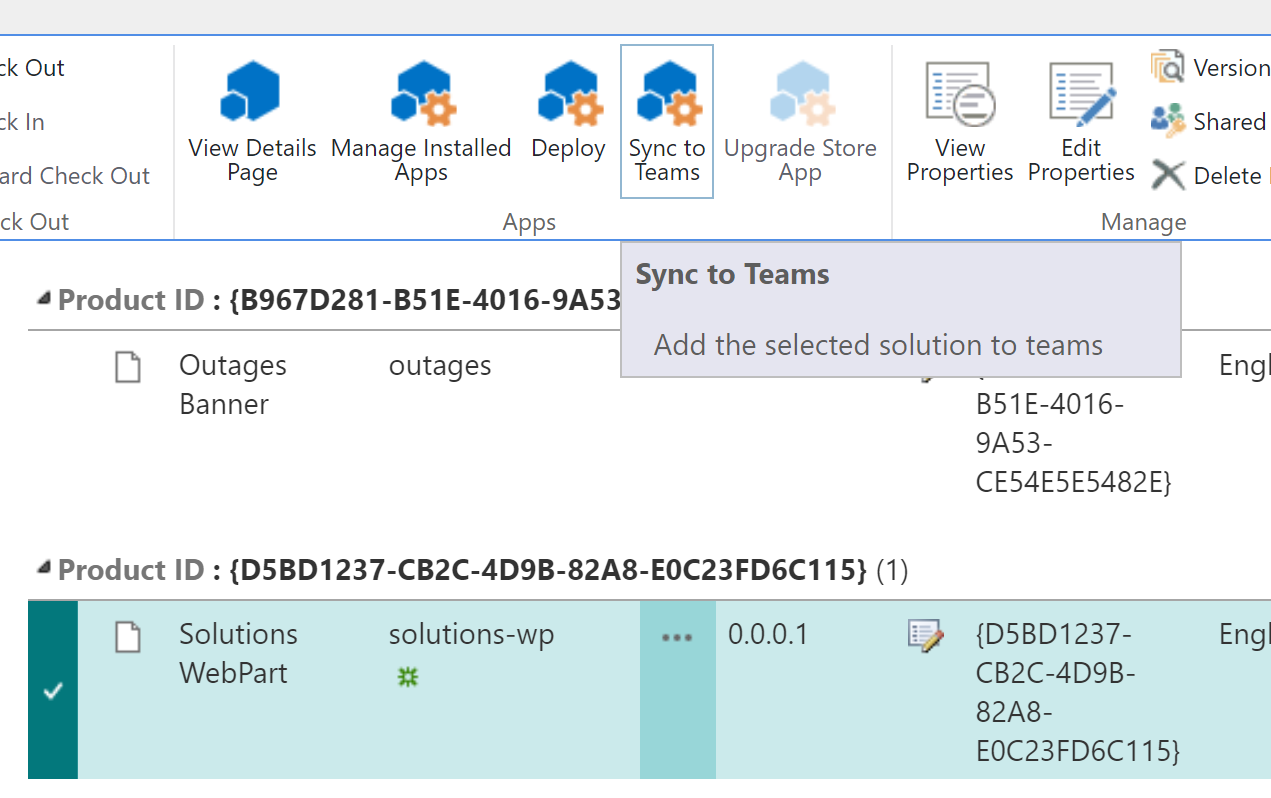
- Click on
Sync to Teamsto make the solution available in Teams
Create a Page
- Navigate to the target site
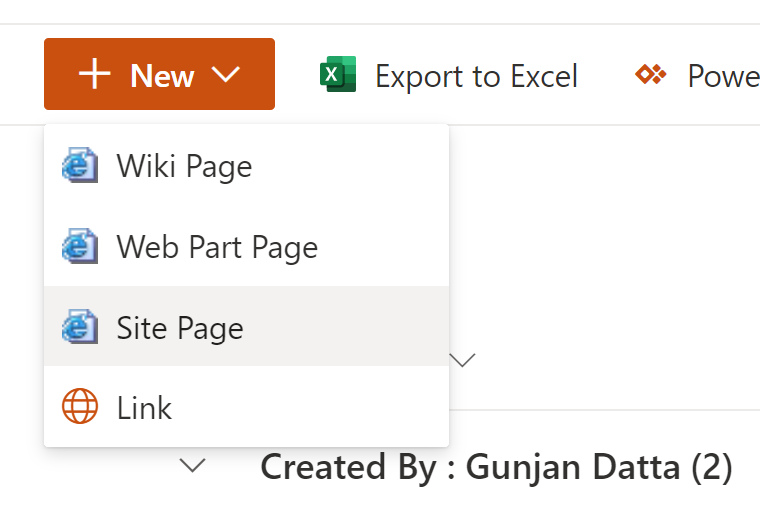
- Click on the
PagesorSite Pageslibrary - Create a site page
- Name the page
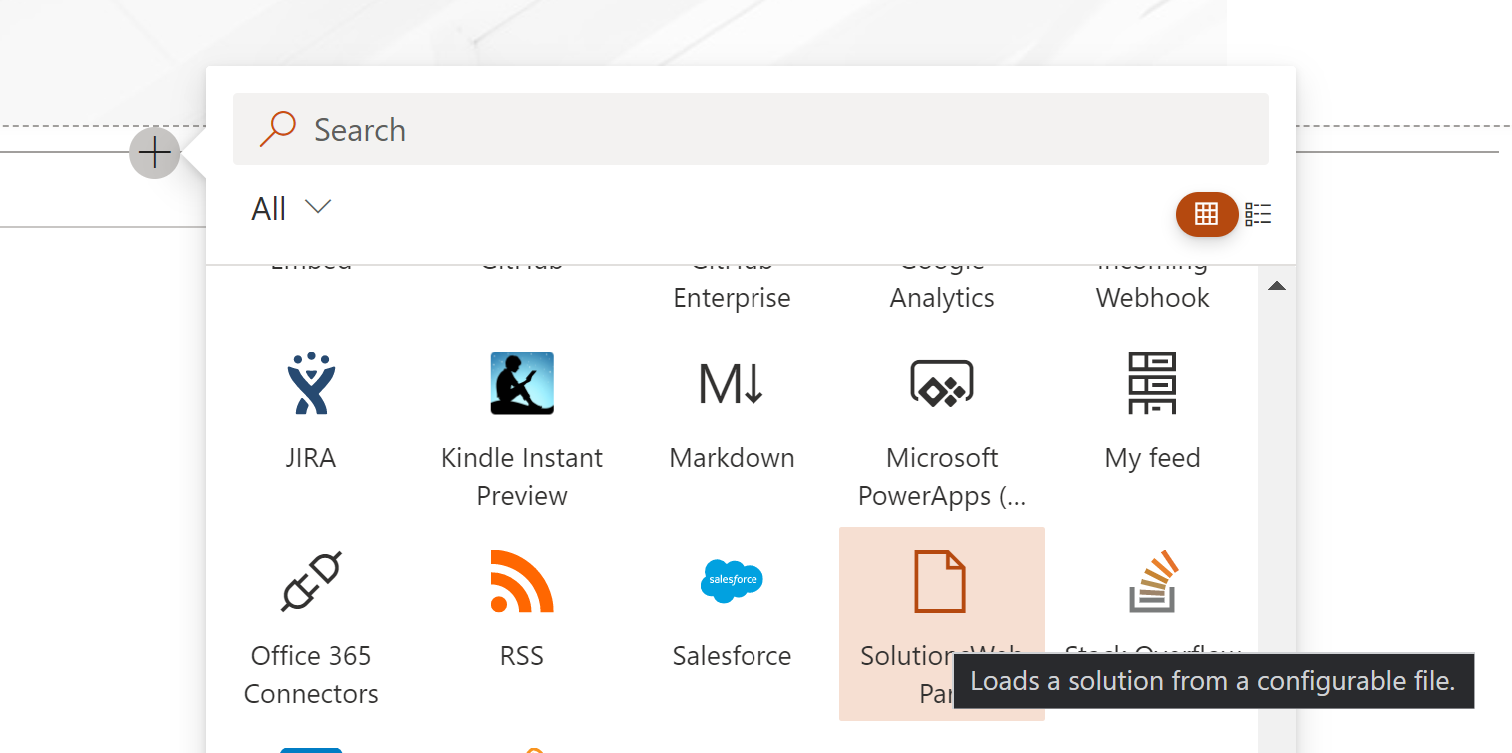
- Add the webpart
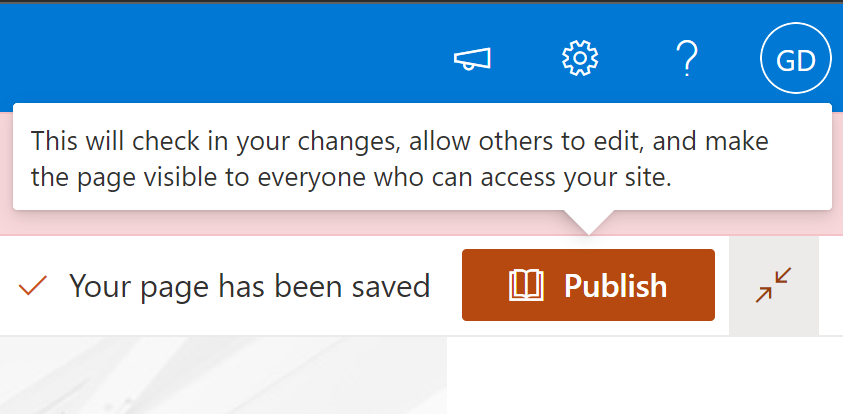
- Publish the page
Solutions Configuration
Now that the solution has deployed and added to a page, we will now walk through the initial configuration of it.
Create the Configuration File
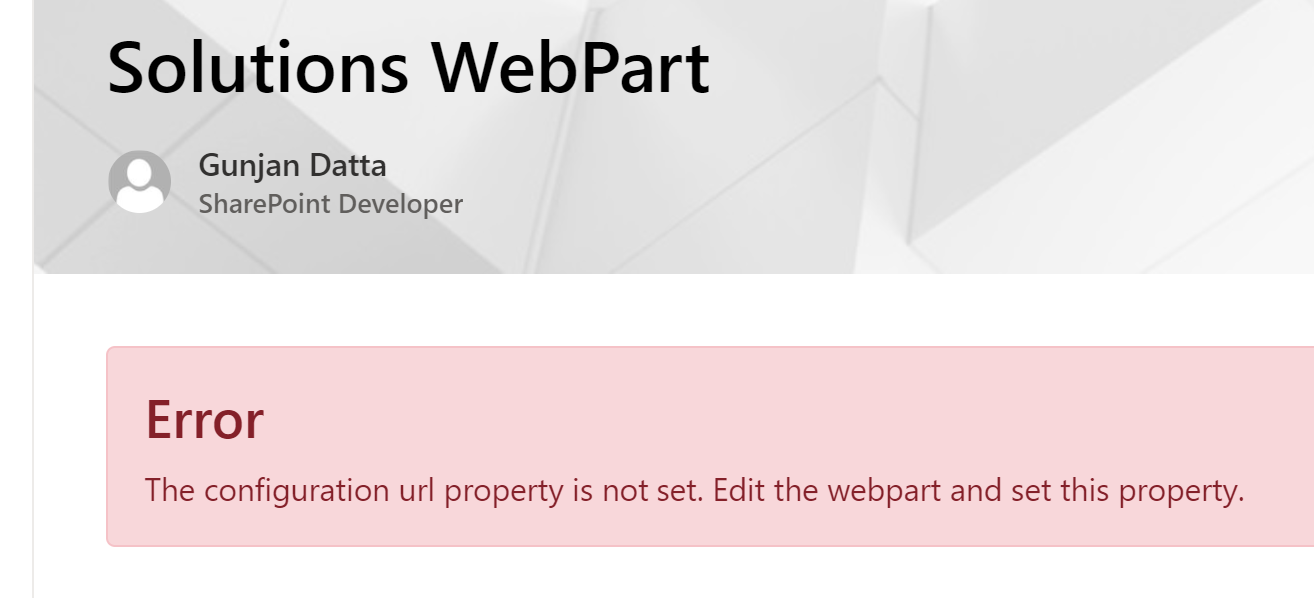
The first error is valid, since we haven’t set the configuration url property of the webpart. Without this, the webpart will not know what solutions are available. For this solution we will use the ClientSideAssets library in the absolute root site collection.
Note - This property can be automatically defaulted, but will require you to fork it and set it manually.
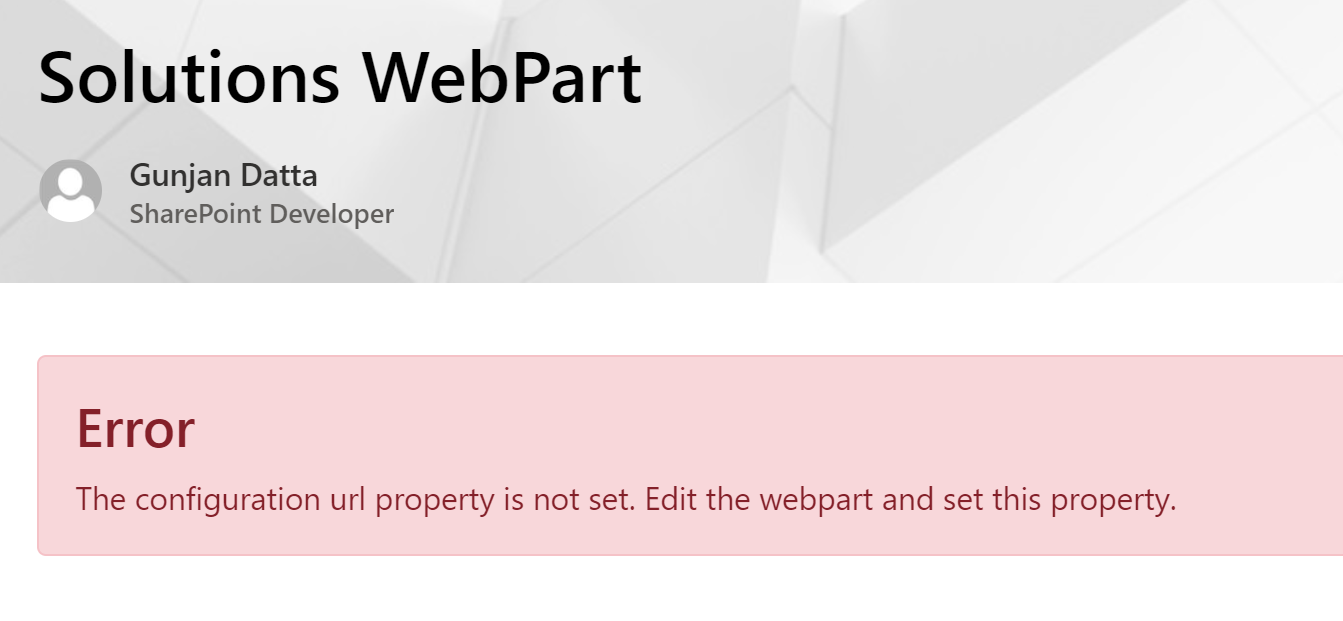
- Access the target library to store the configuration file
- We will use the library located in the absolute root site collection
/ClientSideAssets
- We will use the library located in the absolute root site collection
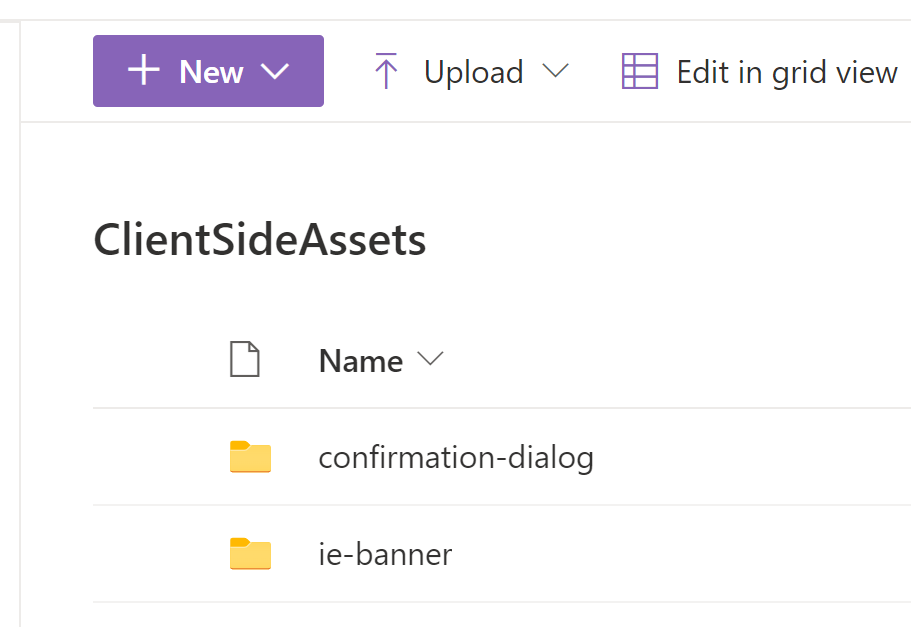
- Create a folder called
solutions
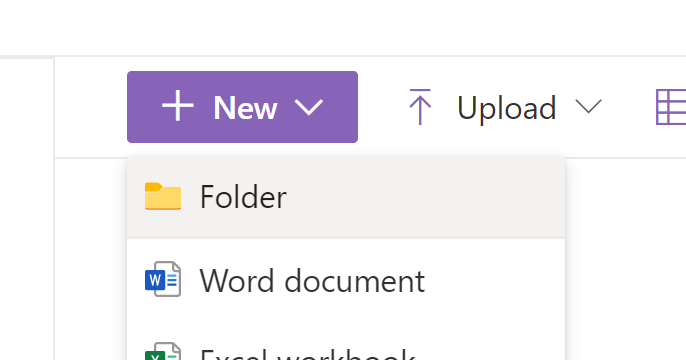
- Create a file called
config.jsonand populate it with the available solutions
{
  "sourceUrl": "/clientsideassets/solutions",
  "solutions": [
    {
      "global": "SCAdmin",
      "name": "Site Collection Admin Tool",
      "url": "sc-admin.min.js"
    }
  ]
}
Configuration File
| Property | Description |
|---|---|
| sourceUrl | The relative url to the folder containing the solutions. |
| solutions | An array of solutions. |
| global | The global DOM variable to reference the solution. |
| name | The name of the solution. |
| url | The url to the solution file found within the source folder. |
Each solution must create a global DOM variable, referenced by the global property name, and contain a render method. The render method will have 2 properties passed to it:
- domElement - The webpart’s main element
- context - The page context
Upload Solutions
For this solution, we will use the Site Collection Administration Tool available from our solutions. Download the sc-admin.min.js solution file and upload it to the same folder containing the configuration file.
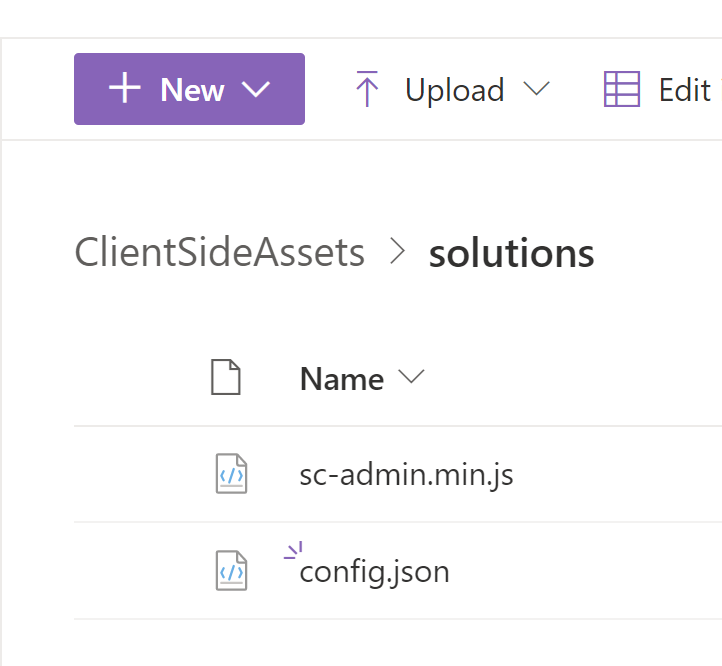
Set the Configuration File URL
- Refresh the page containing the
Solutions Webpartcreated in the earlier steps - Edit the page and webpart
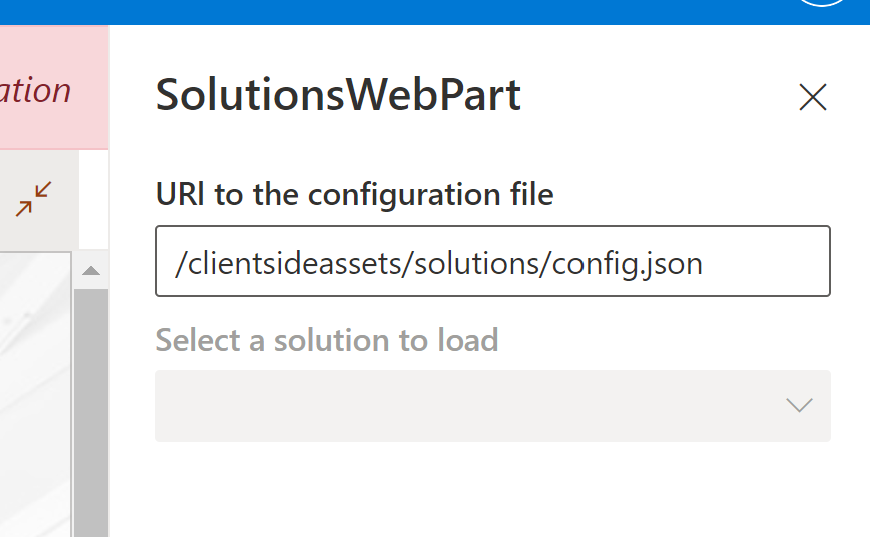
- Set the URL to the configuration file we just created:
/clientsideassets/solutions/config.json
- Edit the page
- Edit the webpart
- Set the url to the configuration file
- Click the
Applybutton to load the available solutions
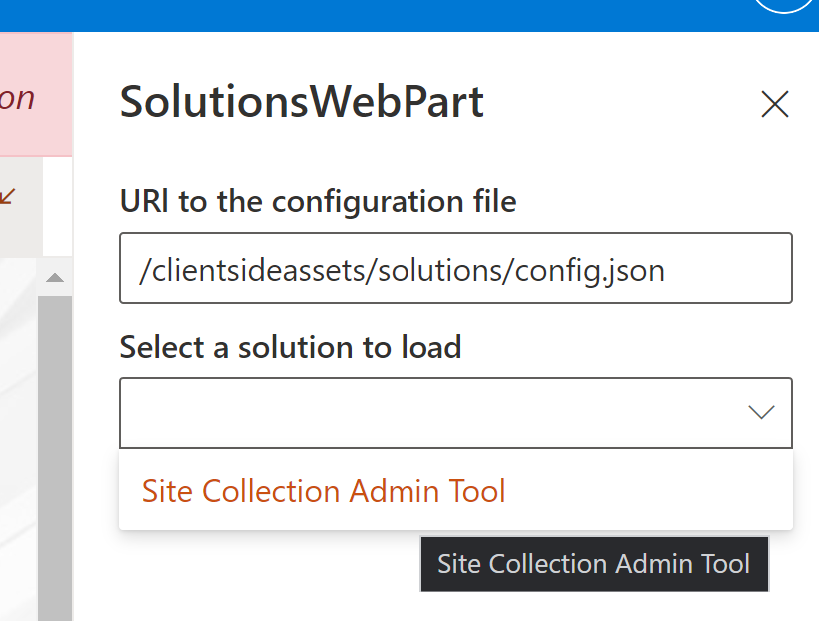
- Select a solution from the dropdown
- Click the
Applybutton to load the solution
- Click
Republishto save the changes

View the Solution


Comments